Every move might be unique, but that doesn’t take away from the fact that moving house remains one of the biggest projects you’ll take on. In this blog, we offer the ultimate house moving checklist.
It’s quite easy to lose track of everything that needs to be organized. For that reason, we’ve prepared the ultimate house moving checklist to help you avoid any moving nightmares. Kindly note, however, that this checklist applies only to house moving within Kenya.
By following our guide, which is broken down into easy-to-follow activities, you’ll spend less time worrying and more time settling into your new digs.
Wondering how you’re supposed to have packed and cleared out of your current residence in the three weeks you have till your notice is up? Fret no more, for our residential house moving checklist has got you covered.
Here’s a timeline detailing what you should do when going about the moving process.
Three Weeks Before Your Move

You’ve found a great place to relocate to, or perhaps it’s even your newly finished home you’re moving into. Whichever the case, you’ll need to do your due diligence in choosing a moving company, then get in touch with your preferred movers.
Once you’ve contacted the movers, there are a few things they should take you through, including:
- Picking the desired moving date
- Doing a detailed pre-move assessment, which can be in the form of a video survey, online/email checklist, or an in-person survey (most preferred)
- Giving you an accurate and timely moving quote, including details on moving insurance
You should also make a shopping list of the items you’ll require during the move process, depending on whether your moving company will provide them. These items include cardboard boxes, bubble wrap, box cutters, labels, masking tape, packing tape, permanent markers, and cleaning supplies, among others.
You may also want to consider decluttering your home if you think there are too many items you don’t wish to move to your new place. It’ll be easier if you start decluttering earlier than if you wait for the day or week before your move.
One Week Before Your Move

With one week remaining to move day, you should ensure the funds for your expense accounts with the movers and your current landlord are secured.
This means settling all pending payments such as water bills and estate service charges so that you can clear with your current property’s management.
While at it, get in touch with your internet service provider so that they may facilitate your account transfer. That way, you can ensure there’s a smooth transition with your home internet experience when you move.
Once you’ve sorted out any issues with the property management at your current place of residence, you’ll want to make a deposit for your move. The deposit varies between moving companies and it’s intended to secure trust and show that you mean business.
It’s also a way to secure the moving company’s services for the agreed-upon date. Even so, it’s advisable to avoid moving companies that demand 100% payment upfront unless you have had previous experience with them.
You should take the week before your move to wrap up any ongoing renovations or final touchups in your new or destination house. Additionally, you can go through the settlement layout of your new home with your movers. This way, they’ll be apprised beforehand about where you’d like certain things, such as wall hangings, situated.
The Day Before Your Move

You’ve paid the booking deposit for your move, planned out the settlement layout of your destination home, and settled up your accounts with your property management. Now, it’s the eve of the day you’ve been looking forward to!
First things first. You need to make arrangements for your destination house to be cleaned and tidied up so it’s fresh and up to your standards before moving in.
As that’s happening, you should proceed to pack your personal or sensitive items as directed by your mover. These can include personal documents such as birth certificates, bank or credit card statements, old or sentimental family photos, jewelry, wills, and so on.
You’ll also need to facilitate your mover’s ease of movement in the estate. That means obtaining gate passes for their trucks if that’s required, as well as parking spaces for them. Hold-ups at the gate or a lack of packing spots can negatively impact moving timelines. This is why you’re encouraged to have cleared up any issues with your current property managers the week prior to moving.
Remember, don’t water your potted plants the day before your move.
Instead, you’ll want to set aside your baby’s food and some snacks for your family (and your movers, if you’re inclined). Moving day snacks, including fruits and nuts, are a great way to keep you alert and productive
Having your baby’s food set aside is also crucial as it’s one part of their routine you can control on moving day. As you most likely already know, babies love routines, so they’re fussier when said routines are thrown out the window on moving day.
Moving Day
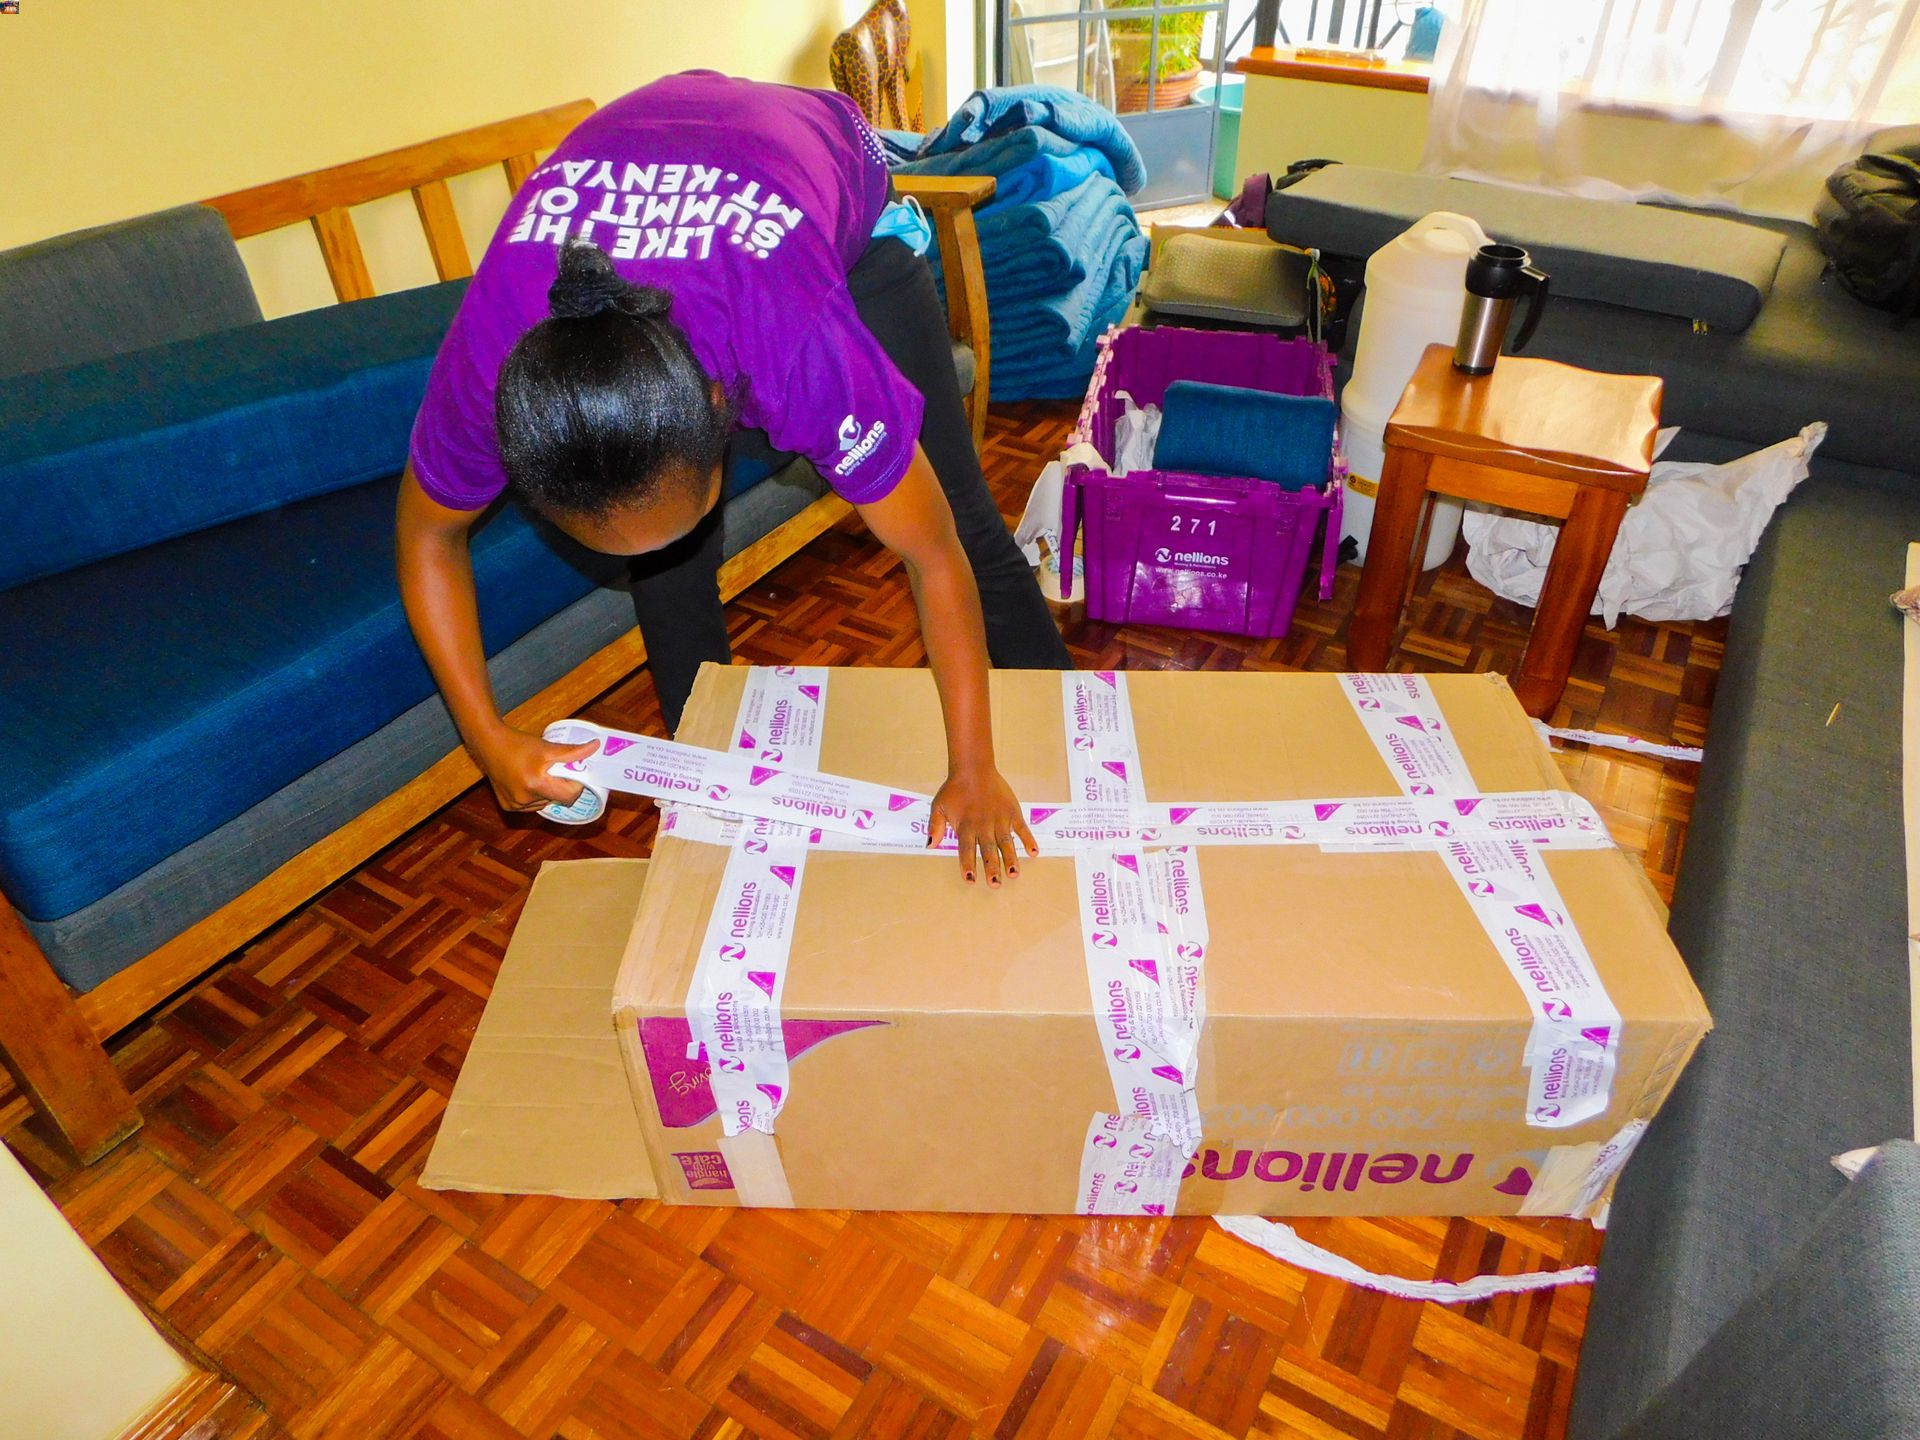
It’s finally D-Day! This is no day to sleep in, so rise up good and early to ensure you’re ready to receive and guide your movers.
Once your Move Captain and his or her team arrive, you’ll need to show them around your home for a quick walkthrough. This is how the team gets an idea of the scope of work before them.
The next step is to sign the moving company’s documents so the team can start the packing and moving process. Then, you’ll have a chance to test your electronics to confirm they’re working properly before the move.
The only thing left for you to do at this juncture is to kick your feet up and relax as the movers go about their business. Don’t forget to ensure your kids or pets aren’t running around, however.
Once everything has been loaded up and transported to the destination premises, your movers will unload, position, and unpack the items according to your preferred settlement layout.
They’ll then proceed to carry out housekeeping, which involves:
- Putting up the curtains
- Putting clothes in closets
- Arranging the furniture as desired
- Installing wall hangings and electronics
- Loading the kitchenware into respective cabinets
You’ll have a chance to conduct a final walk-through once the movers are done. At this point, you can test the electronic appliances to confirm they’re still working and ensure your glassware was unloaded in the correct cabinets.
After the Move
Once the move is complete and you’re all settled in, your moving company will issue an invoice which you should then settle.
If you opted to work with a reputable moving company, you can also expect a call from their Quality Control Team a few days later. This call is meant to follow up on your move experience and establish whether there’s significant feedback on your part that can improve this service.
You’ll also be asked to rate the moving service and comment on what you found helpful (such as the house moving checklist) or not so helpful.
Get in touch with Nellions today to get your free moving estimate and get started on the process of enjoying a seamless residential move.


